

T his card is so much easier than it looks. It can be made as simple (as shown here) or as complicated as you want it to be. Have fun!
Project Recipe
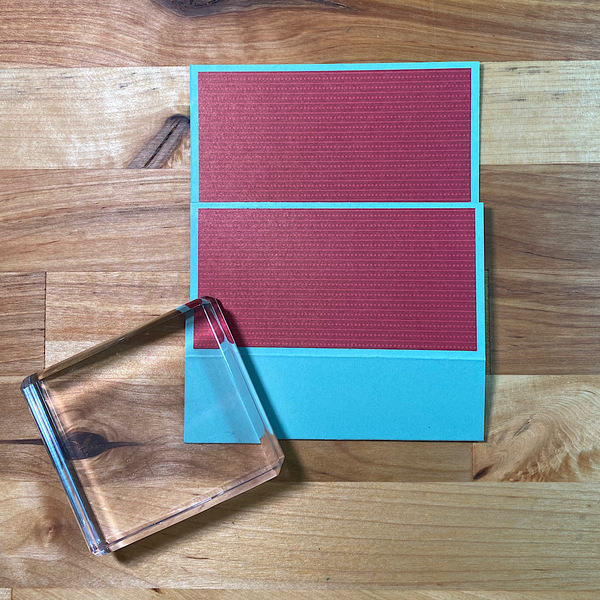
Cut and score solid card stock as follows:
Back: 4 1/4” x 11”
Score at 5 1/2”, 6 3/4”, 9”, 10 1/4”
Front Piece: 3 1/4” x 5 1/4”
Score at 3 3/4”, 5”
Designer Paper
Back Piece: 4” x 5 1/4”, 4” x 1”, 4” x 2”
Front Panel: 3” x 3 1/2”, 3” x 1”
Back Piece:
Whisper White card stock: 4" x 5 1/4"
(note: I cut 1/4" off the top and bottom of the "Holiday Cheer" card on the front so that it measured 3" x 3 1/2".

Decorate the card stock with the designer paper.
Larger base cardstock:
The 4" x 5 1/4" DSP goes on the large section. If your DSP is directional, the card stock edge with the fold is on the bottom.

Fold the card stock at the 5 1/2" score line with the large piece you alreaded DSP to facing you. Add the 4" x 2" DSP in the lower section and the 4" x 1" DSP in the section above this.
Add tear 'n tape to the small flap above this section.

To make the small front box, fold the larger decorated paper in half at the 5 1/2" score line, fold down the two sections on the top, so that all is showing is the 1 1/4" bottom piece and 2 1/4" front piece.

Pull off the tape and adhere, while the card is lying flat, so that it will fold properly to fit into an envelope.

This will form the base and box of the card.

Smaller front card stock:
The 3" x 3 1/2" DSP or card goes on the largest section, the 3" x 1" DSP goes on the section above, and add tear n tape to the small remaining flap.

Flip the card over and add tear n tape to the bottom edge of the large flap.
Fold the front piece along the score line (as shown) and align the fold to the top edge of the main card base to help determine where the strip of tape needs to go that will attach this piece to the box area of the card.

To attach the front section to the back base, fold the front card at the 3 3/4" line. Remove the backing from the tape, align the folded section with the top of the base card and stick down.

Stamp the Whisper White cardstock and add it to the back of the card to have a place to write your message.
Card stock: Mint Macaron
Ink: Real Red

You can adjust the length of the front panel to be longer or shorter, just make sure to align the top edge when you adhere it down. You can also adjust the width to be narrower.
On this card the front panel size is 3 1/4” x 6”, scored at 4 1/4” and 5 1/2”. It extends to the base of the box.
Card stock: Garden Green
Ink: Real Red
Also used Wink of Stella to highlight the light inside the lamp post and jewels to decorate the tag.

On this card, all dimensions are the same as in the cutting instructions, except the front panel was adjusted to be 2 3/4” wide. You can decorate the panel with ephemera sticking out of the sides, just make sure that nothing extends beyond the edges of the card when laid flat.
Card stock: Crumb Cake
Ink: Cherry Cobbler
Boughs & Pinecone Background: Mossy Meadow
Pinecone Foreground: Early Espresso
Also used jewels to decorate the tag.